How to draw an Indian Snake Easy
In the process of teaching a child to draw different animals, you can devote one lesson to drawing a snake. This is a dangerous, intelligent and strong representative of wildlife, which will be interesting to portray to the baby, if you choose as a sample of favorite cartoon characters, for example, the python from "38 Parrots", or the snake Skorobeya from the fairy tale "Magic Ring".
In this case, the snake will not cause fear in kids, and the image of a familiar character will cause interest in lessons School-age children can be offered to draw a realistic cobra from the cartoon "Mowgli", or another Kipling story "Riki Tiki Taki".
The lesson should begin with a sketch of a snake, as with any other animal. For the work you need to prepare:
After this, you need to offer your child to think about what distinctive features the snake has, how he or she imagines it, what kind of character and mood his or her drawing will be.
How to draw a simple snake to the youngest artists
Even a simple drawing of a snake, which has no paws and ears, and its body goes into the tail, should be drawn according to the rules. A simple lesson will explain to a child step by step how to draw even such an animal with the simplest possible body shape.
Below are sequential steps to learn how to draw a funny snake from cartoons and fairy tales.

The work algorithm consists of the following steps:
- In the center of a scrapbook sheet, draw an even circle, using a compass or a special stencil, which circles around the outer contour.
- Above the circle, draw a horizontally placed oval so that it is in contact with the circle.
- Divide the oval with a horizontal line in half. At the bottom of one end of the straight line to the other half-circle is drawn, which will be the mouth. Above the line you need to draw two circles in the middle of the upper half of the oval, and inside of them another circle. These will be the eyes of the snake. Above the eyes trace the eyelids and the back of the snake.
- On the one side of the mouth to create a curving line upwards. This will be the base of the tongue.
- In a circle traced curved body snake. From the head parallel to the line of the circle draw a line inside the circle. The beginning of the body at the head must be wide enough. The drawn line should resemble a crescent, with the horns looking inward into the circle.
- Inside the circle under the head to draw a concave line so that you get a crescent looking horns down.
- Inside the crescent draw a hook, which will bent end to rest on the bottom of the head. This will be the tail of the snake. It will be folded into a ball, like a cat.
- Draw the body, rolled into rings, from which comes out the upper part with the head and tail.
- Draw eyebrows over the eyes, as if hanging in the air. Since the character is good, the pupils need to make round and large, shading them in black. When painting, you need to leave a white glare, which will give the eyes volume.
- In the area of the smiling mouth, where the tongue is, at the top of the nose should be drawn with two dots. Then a long tongue is drawn, which is bifurcated at the end.
- After that, all auxiliary lines are removed with a rubber band and the snake is painted. The contour of the snake is outlined with a dark green pencil.
- On the abdomen make horizontal stripes with a light green pencil.
- Eyes, eyebrows, mouth and nostrils are filled in black. On the eyes do not forget to leave the glare.
- Tongue painted red. Eye area around the pupils to indicate the yellow. The same color is painted abdomen in between the green stripes.
- Different shades of green colored outer part of the body snake. When applying the coloring, it is not necessary to press on the pencil, the colors should be applied in smooth strokes. The outer tone should be darker and the inner one lighter.
The finished drawing can be framed and hung on the wall.

How to draw a cobra with pencils
School-age children will be interested in learning how to draw a cobra. It is a dangerous snake for humans, which has a characteristic shape of the head framed by the so-called "hood". It is the kind of snake that opens in a fighting stance, thus warning its adversary that it is ready to gnaw him with its poisonous teeth.

In the presented master class we will tell you how to draw a realistic picture of such an animal. Almost by the same rules cobra can be drawn at art schools in St. Petersburg, Moscow and other major cities of Russia, where children are taught to draw by professional artists.

Before you start, you need to pick up a visual example for your child with a realistic depiction of a cobra in a fighting stance. Any user can find a suitable picture for a home drawing lesson on the Internet.

The work will require the same tools as when drawing the cartoon good snake.Below is a step-by-step description of the steps to create a drawing of a cobra:

At the top of the blank drawing sheet, draw a small flat circle that will be the base of the snake's head. Divide the circle in half with a horizontal line.

From the bottom of the head draw an arc, which will be the base of the cobra's torso. It needs to be done so that it is wriggling to form a put on the side of the figure eight.

With two wide lines coming from the head, draw the neck. Lines should start wide and gradually narrowing to the bottom. One concave line goes from under the head, the other about the same shape a little away from the head. The top point of this line should be joined to the top side of the head with an arc. This will be the "hood" king cobra. From the bottom of the head to the line drawn to the side, draw a slightly concave line with a small hook at the end to the top point. This will be the lower jaw of the snake.

Draw the torso with a duplicate wavy line running parallel to the already drawn "figure eight". The closer the lines are to the tail, the narrower the distance between them should be. Draw the tip of the tail raised slightly upwards.

Clearly trace the outline of the snake, drawing the "hood", eyes and nostrils with tongue. Follow the resulting abdomen draw longitudinal strips. On the outside of the body with a pencil to create scales.Erase auxiliary lines in the drawing with a rubber band and move on to color the picture.

Yellow is used to color the abdomen of the snake on the neck. Then yellow is used to color the rest of the picture. This will be the main background, which will be superimposed darker colors.Orange color is created by shading in the place of folds and under the opened "hood". Thus volume is created.

Light brown pencil traced head, painted its outer part and the top of the open "hood". Also, the contour of the body is traced with this color and color shading on the rolled up body is created. Use the brown shade to create shadows that give volume to the cobra's body.

The strokes on the sides should be of the same size, intensifying the intensity of the color in places where the shadow should be. Using a brown pencil, the texture of the snake skin is created, resembling scales, the contours of the body are traced.After the child learns to draw with pencils, you can move on to the study of a more complex technique of detailed drawing of the snake in a graphic style with a ballpoint pen.
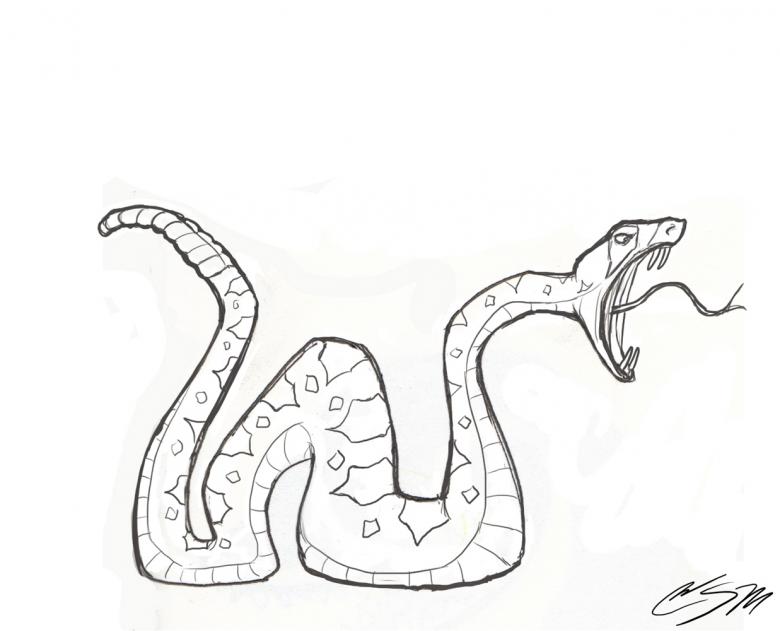
Photo ideas and examples for drawing a snake in pencil
Source: https://icreate-en.womanexpertus.com/kak-narisovat-zmeyu
0 Response to "How to draw an Indian Snake Easy"
Post a Comment